Alamo and National Kiosks - Car Rental Kiosks To Save Time
Contents
Introduction
The car hire kiosks can be used with Alamo and National bookings only and are a way to avoid any wait at the desk when you collect your hire car. Rather than having to line up and wait at the car rental counter, you simply go to one of the touch-screen kiosks near the counter and complete your booking.
We have a unique arrangement with Alamo and National that allows our car hire customers to use the kiosks even if you do not reside in North America.
To use the kiosks, the only requirement is that you book your rental car from our website (other agents do not have access to the kiosks).
When you collect your car, you will need to provide a credit card as security deposit (in the same name as the license of the lead driver). If you wish to use a debit card for your security deposit then you cannot use the kiosk and must go to the rental counter. If using a debit card you must also show your return flight ticket.
For non US driving licenses, the kiosk cannot automatically scan the bar code / magnetic stripe from your license. You must select the option to manually enter your driving license number in to the kiosk. Failure to select this option will cause the kiosk to direct you back to the car rental counter for processing.
If you have more than 1 driver, you can provide the additional driver(s) details using the kiosk. Make sure the additional driver(s) are with you.
Below are basic instructions and screen shots for using the kiosk. The procedure is the same whether using Alamo or National kiosks. The screenshots below are taken from a mixture of the 2 system, but are the same on both.
Step 1 - Choose Your Language
When you first get to a kiosk, touch the screen to begin, then select your language. You will be asked "Do you have a reservation?". Click "Yes"
Step 2 - Your Driving License Details
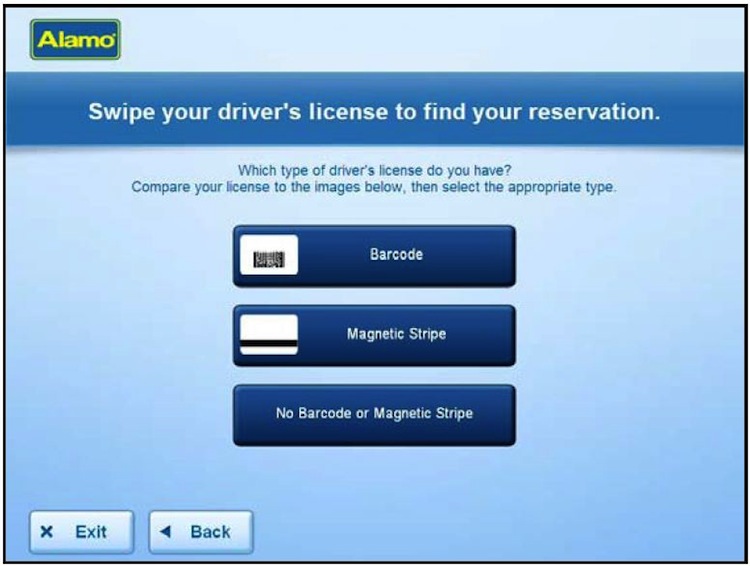
If you are from the USA or Canada, you may select to either scan the bar code or swipe the magnetic stripe. If you are from any other country, select the option "No Barcode or Magnetic Stripe" then you will be prompted to enter your driving license number manually.
If your booking is with Alamo, this process will use your driving license number to retrieve the details you entered using the 'Save Time' process online prior
to travel. If you booked National, then you will need to enter further information such as your name, address and other details.
Step 3 - Your Credit Card for Security Deposit and Local Payment
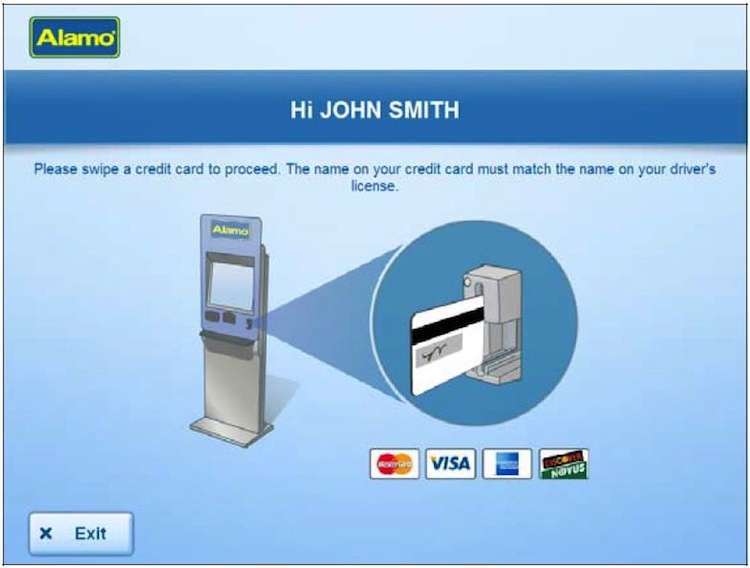
Swipe your credit card when prompted. It is important that the name on the card matches the name on your driving license and reservation.
Step 4 - Review your Reservation
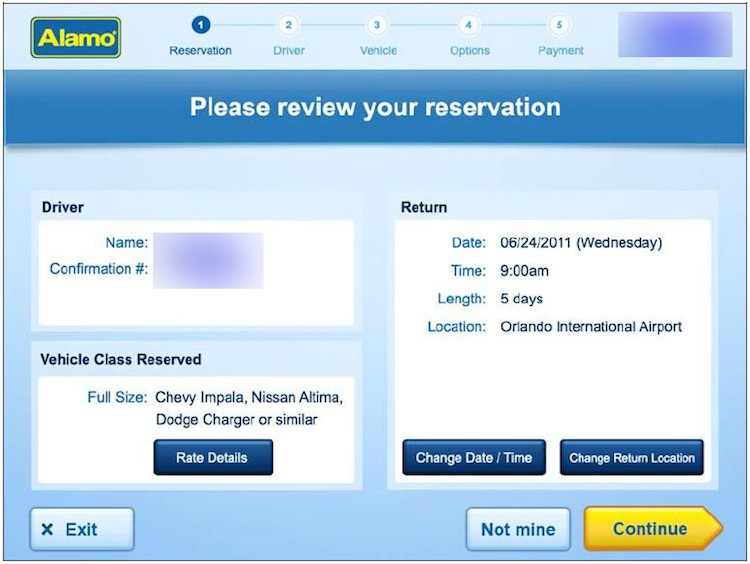
You will see a summary of your reservation. Make sure this is correct, then press 'Continue'. If you would like to change your return date/time, you may press "Change Date / Time".
We strongly recommend you do not wait until now to do this, as the cost is very high. If you know in advance that your times are going to change, please contact us as soon as possible before your trip to make this change for you at a much lower rate.
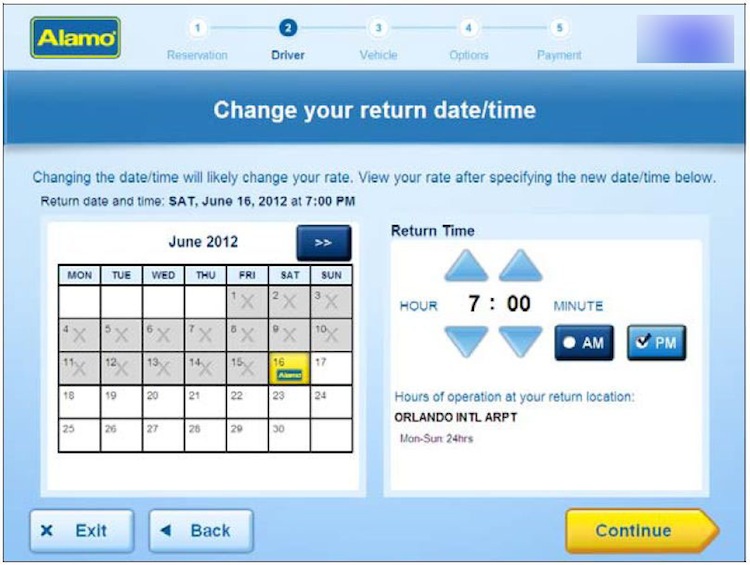
If you do decide to alter your return time, you will see the screen below.
Step 5 - Enter your Local Contact Information
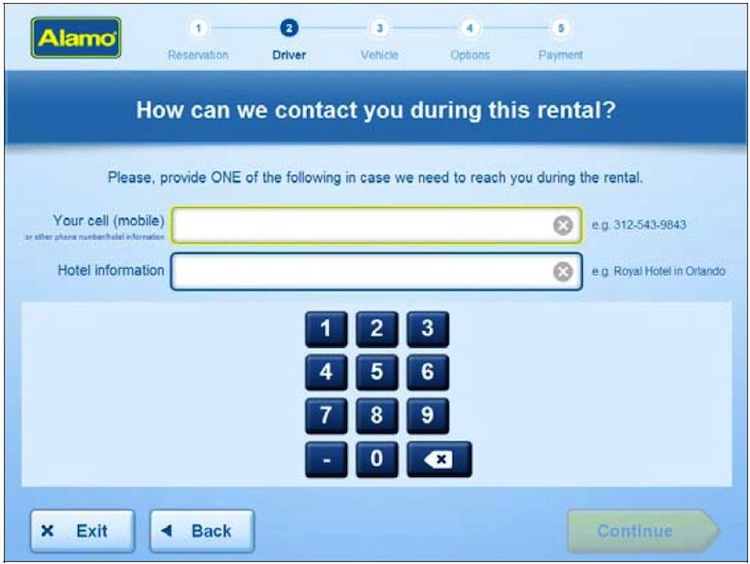
Fill in the information as requested on this screen then press 'Continue'
Step 6 - Verify Personal Information
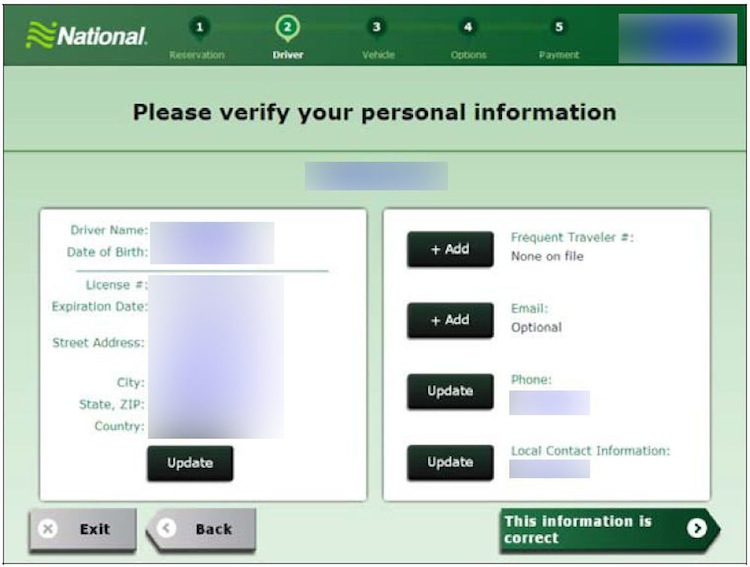
Check the details on this screen are correct, and 'Update' or 'Add' as appropriate
Step 7- Additional Drivers
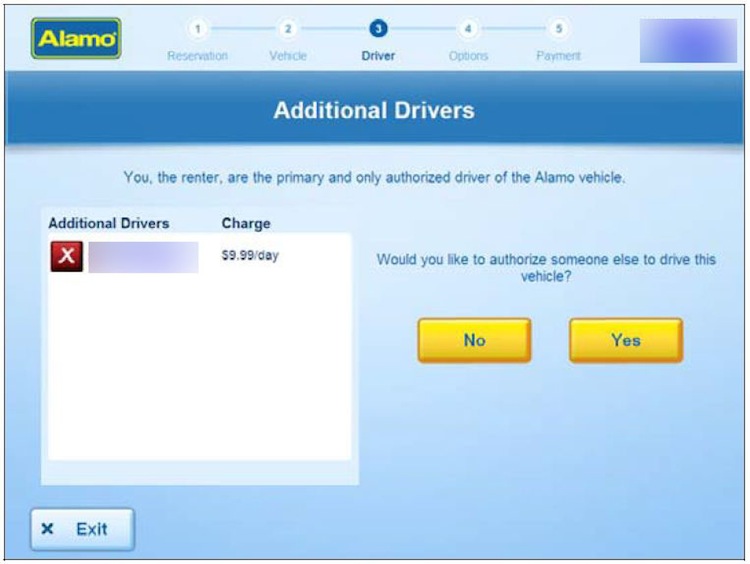
Use this screen to add additional drivers. Depending on the option you booked (Silver Basic, Silver Inclusive or Gold) additional drivers will either be free or have a daily cost. This will be reflected in the 'Charge' details on this screen.
Step 8 - Select Your Vehicle

This screen shows you the car type you have booked and provides you with an option to upgrade to a higher category.
We strongly suggest you do not upgrade the car type at this stage as the daily cost is very high. The daily rate will be clearly shown against each car type when deciding whether to upgrade. Bear in mind there will also be associated taxes and fees on top of the stated daily cost.
The most cost effective way to upgrade your hire car is to do so in advance, by contacting us preferably no later than 2 business days prior to your rental. We can then offer you a much lower rate to upgrade compared to upgrading on arrival.
Step 9 - Add GPS
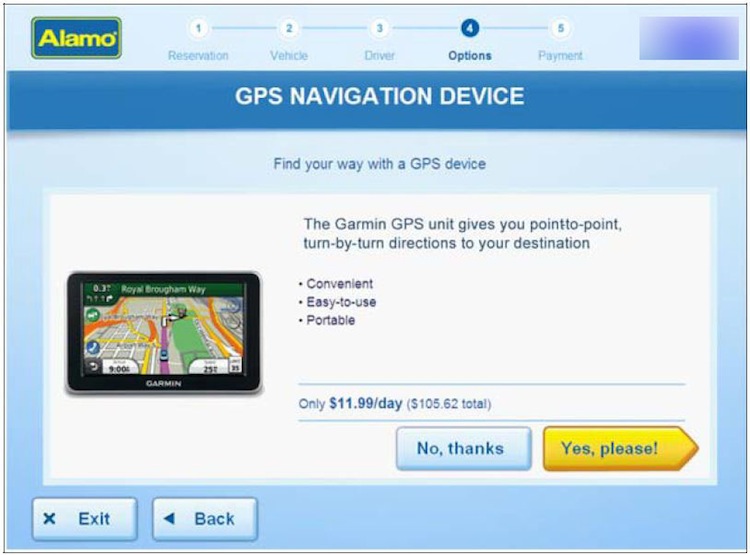
If you would like to add GPS then do so here. Adding GPS is more expensive at this point then if you pre-book it in advance through our site.
Step 10 - Fuel Service Option
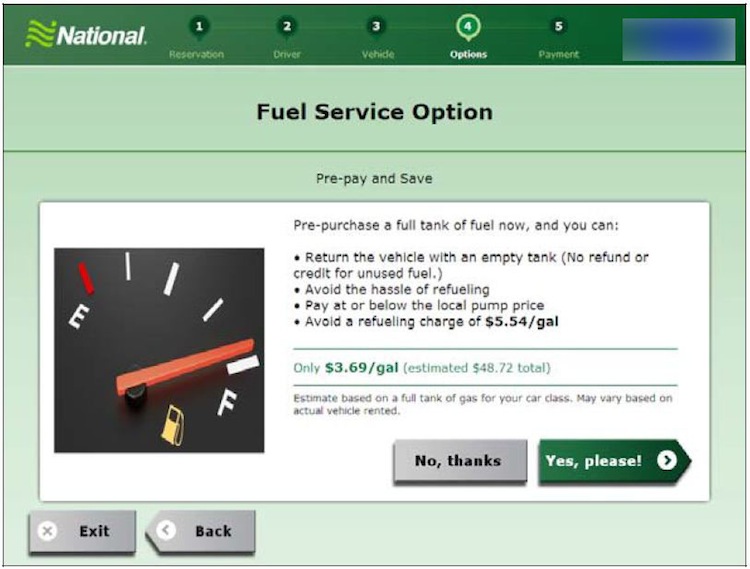
This option does not apply if you booked our Gold Option. If you booked one of our Silver Options then you have the choice to pay for a tank of fuel and return empty (in which case press 'Yes, please') or press 'No, thanks' to return the car with a full tank.
If you are on the Silver Option and decline the Fuel Service Option, but fail to return the car with a fill tank of fuel, then you will be charge for a full tank at an inflated rate.
Step 11 - Child Seats and Other Options
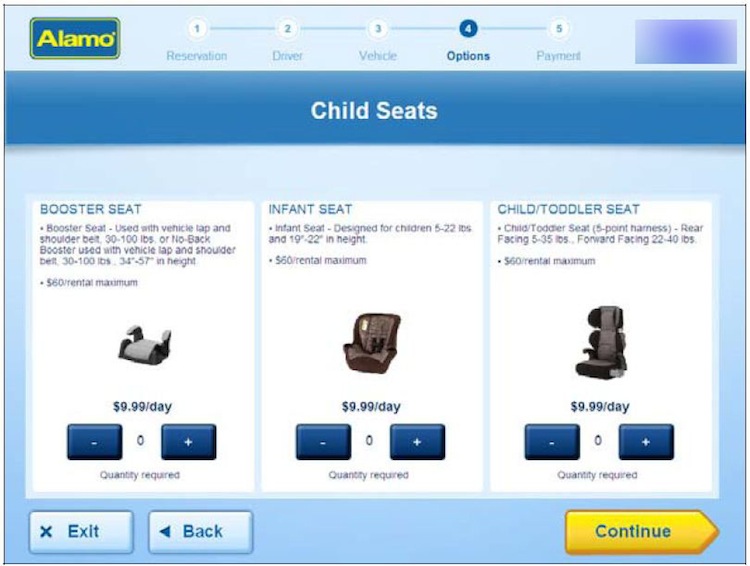
Select if you require any child seats for your rental car. As with all options, any costs associated will be clearly displayed.
Any other options specific to your location will now be offered (such as ski racks, snow chains etc).
Step 12 - Accept Terms and Conditions
The general terms and conditions for your car rentals will now be displayed on your screen. Press 'I Accept' to complete the process.
Step 13 - Final Steps
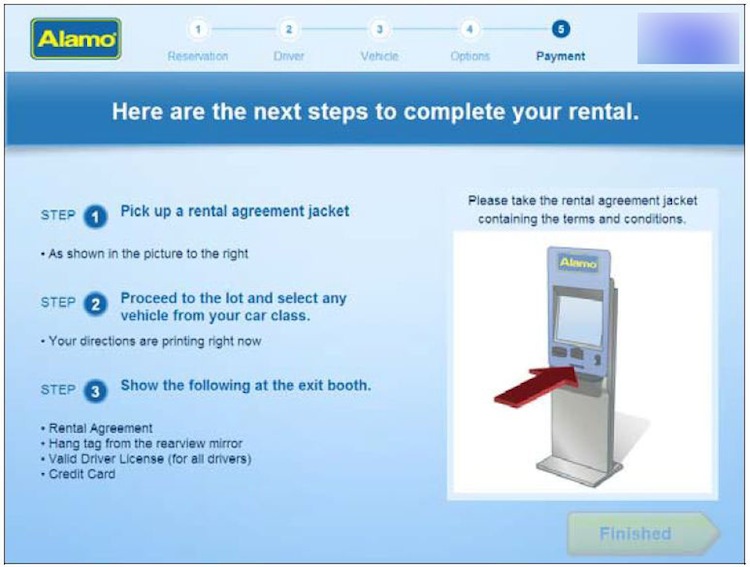
The final screen explains what you need to do next. While you are reading this screen, your rental documents will be printed and available from the slot below the screen.
Once you have your rental document, proceed to the parking lot as instructed and choose the car you like best from the category you have booked.